


WINE THEMED MACARONS - Wine Bottle, Wine Glass & Grapes
February 22, 2019
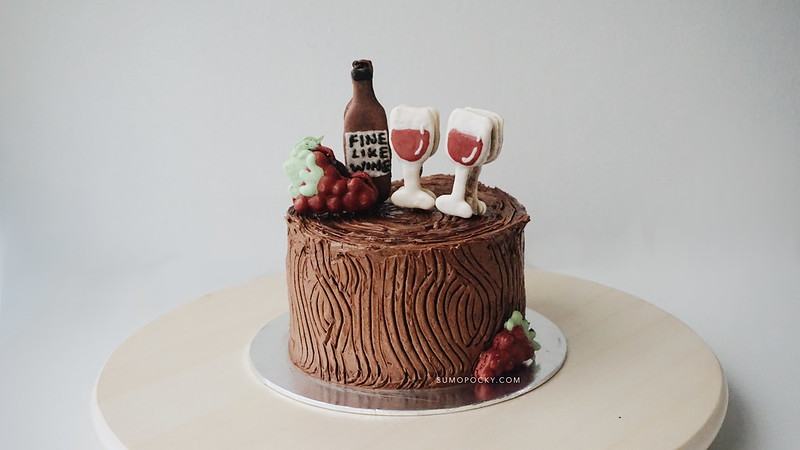
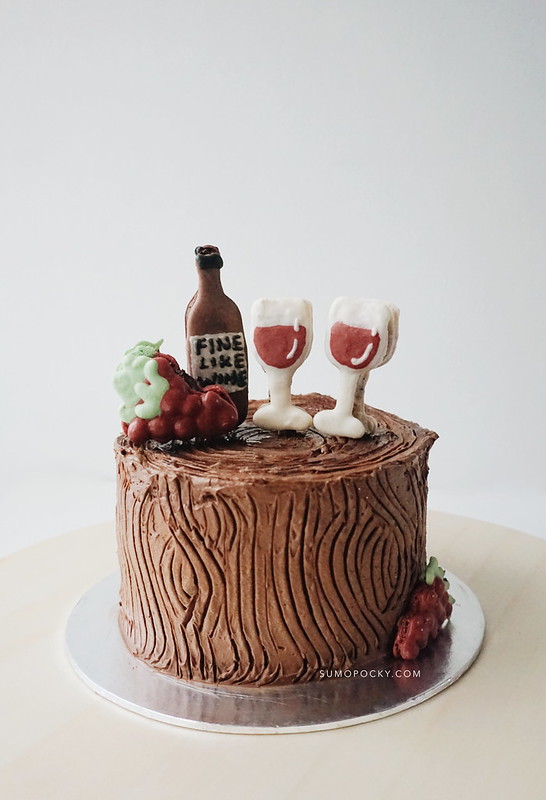
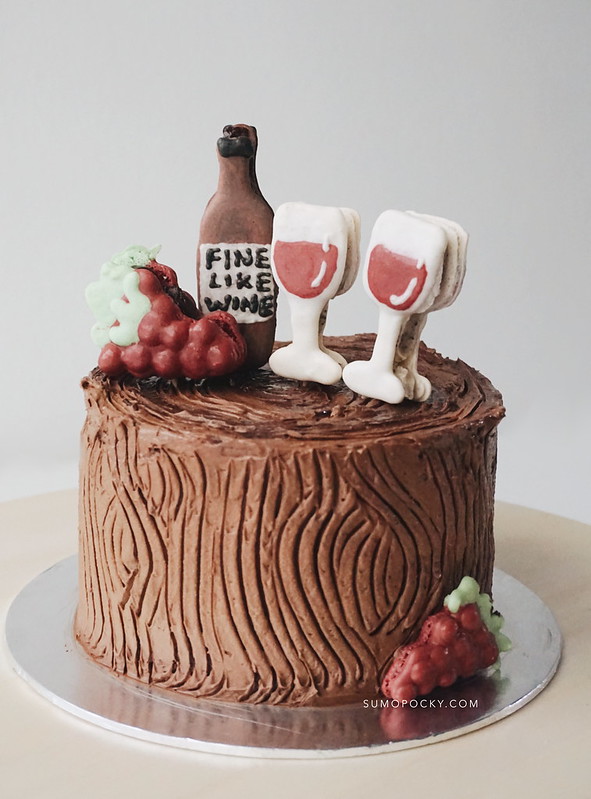
A toast, or should I say cake, to the wine lovers! This wine-themed cake is decorated with macarons in the design of wine bottles, wine glasses, and grapes. The macarons are resting on top of a tree stump, for a rustic look that fits with the theme.
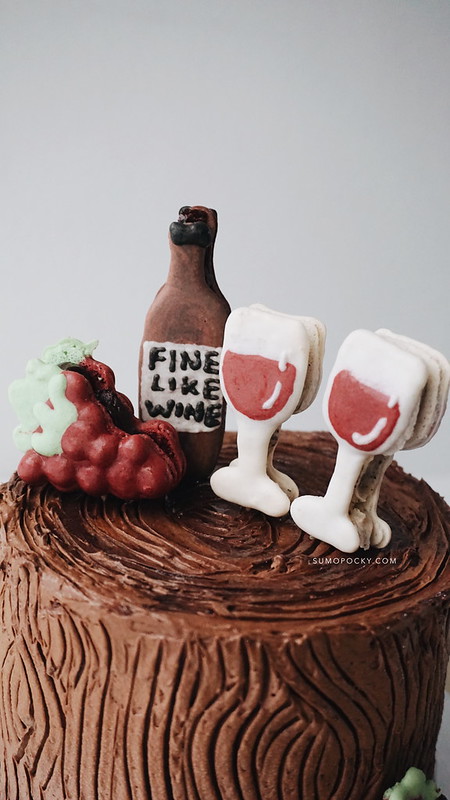
For the macarons, I did a simple DIY template (drawn free-hand) just to make sure the shells are of a consistent shape and size. I prepared 5 colours of macaron batter for this recipe, which I will explain how to get in the recipe below. The wine glass macarons are extremely delicate, so I highly recommend to handle with care when assembling the cake.
 WINE THEMED MACARON RECIPE
Wine Bottle, Wine Glass & Grapes
by Sumopocky
Yield: ~ 20 macarons
Ingredients
[For Macaron Shells]
Meringue: 70g of Egg whites + 90g of Castor sugar
80g of Almond flour
80g of Powdered/icing sugar
Food colouring to get the batter colours in Step 4
[For Filling]
Click here to fill with your desired flavour!
Directions
[For Macaron Shells]
1. Make the meringue. In a bowl, beat the egg whites on low speed using an electric mixer until it is white and frothy (approximately 1 minute). Gradually add the sugar 1/4 at a time. When the first addition of sugar has completely dissolved (approximately 1 minute later), increase the mixer speed to medium and add until all the sugar has been incorporated. Continue to beat until stiff peaks form. [Basic Macaron Tutorial Video]
2. Sift the almond flour and icing sugar to the meringue.
3. Begin macaronage. Using a spatula, start the macaronage process by folding and lightly scraping the top of the batter. Continue until the wet and dry ingredients just start to become combined. In other words, you can't see traces/clumps of almond flour/icing sugar in the meringue. At this point, the batter should still be quite tacky.
4. Prepare different colours of batter based on the table below with food colouring. By estimation, split the batter into the portions you think you require. I've shared a guide in the table below (if there's too much of a colour, you can always use it to pipe plain macarons 😉). Continue the macaronage till you get a molten-like texture, then transfer to piping bags.
Batter Color
Reddish Brown White Maroon/Ruby Green Black |
Estimated Portion
1/3 of batter 1/3 of batter 1/3 of batter 1 tbsp 1 tbsp |
Piping Bag Tip Size
small small small small small |
6. Let the shells dry in a non humid place or in an air conditioned room. You should be able to touch it gently with the tip of your finger without it sticking.
7. Bake in a preheated oven at 150°C for approximately 15 minutes.
8. Let shells cool before piping with filling. Enjoy!


0 comments